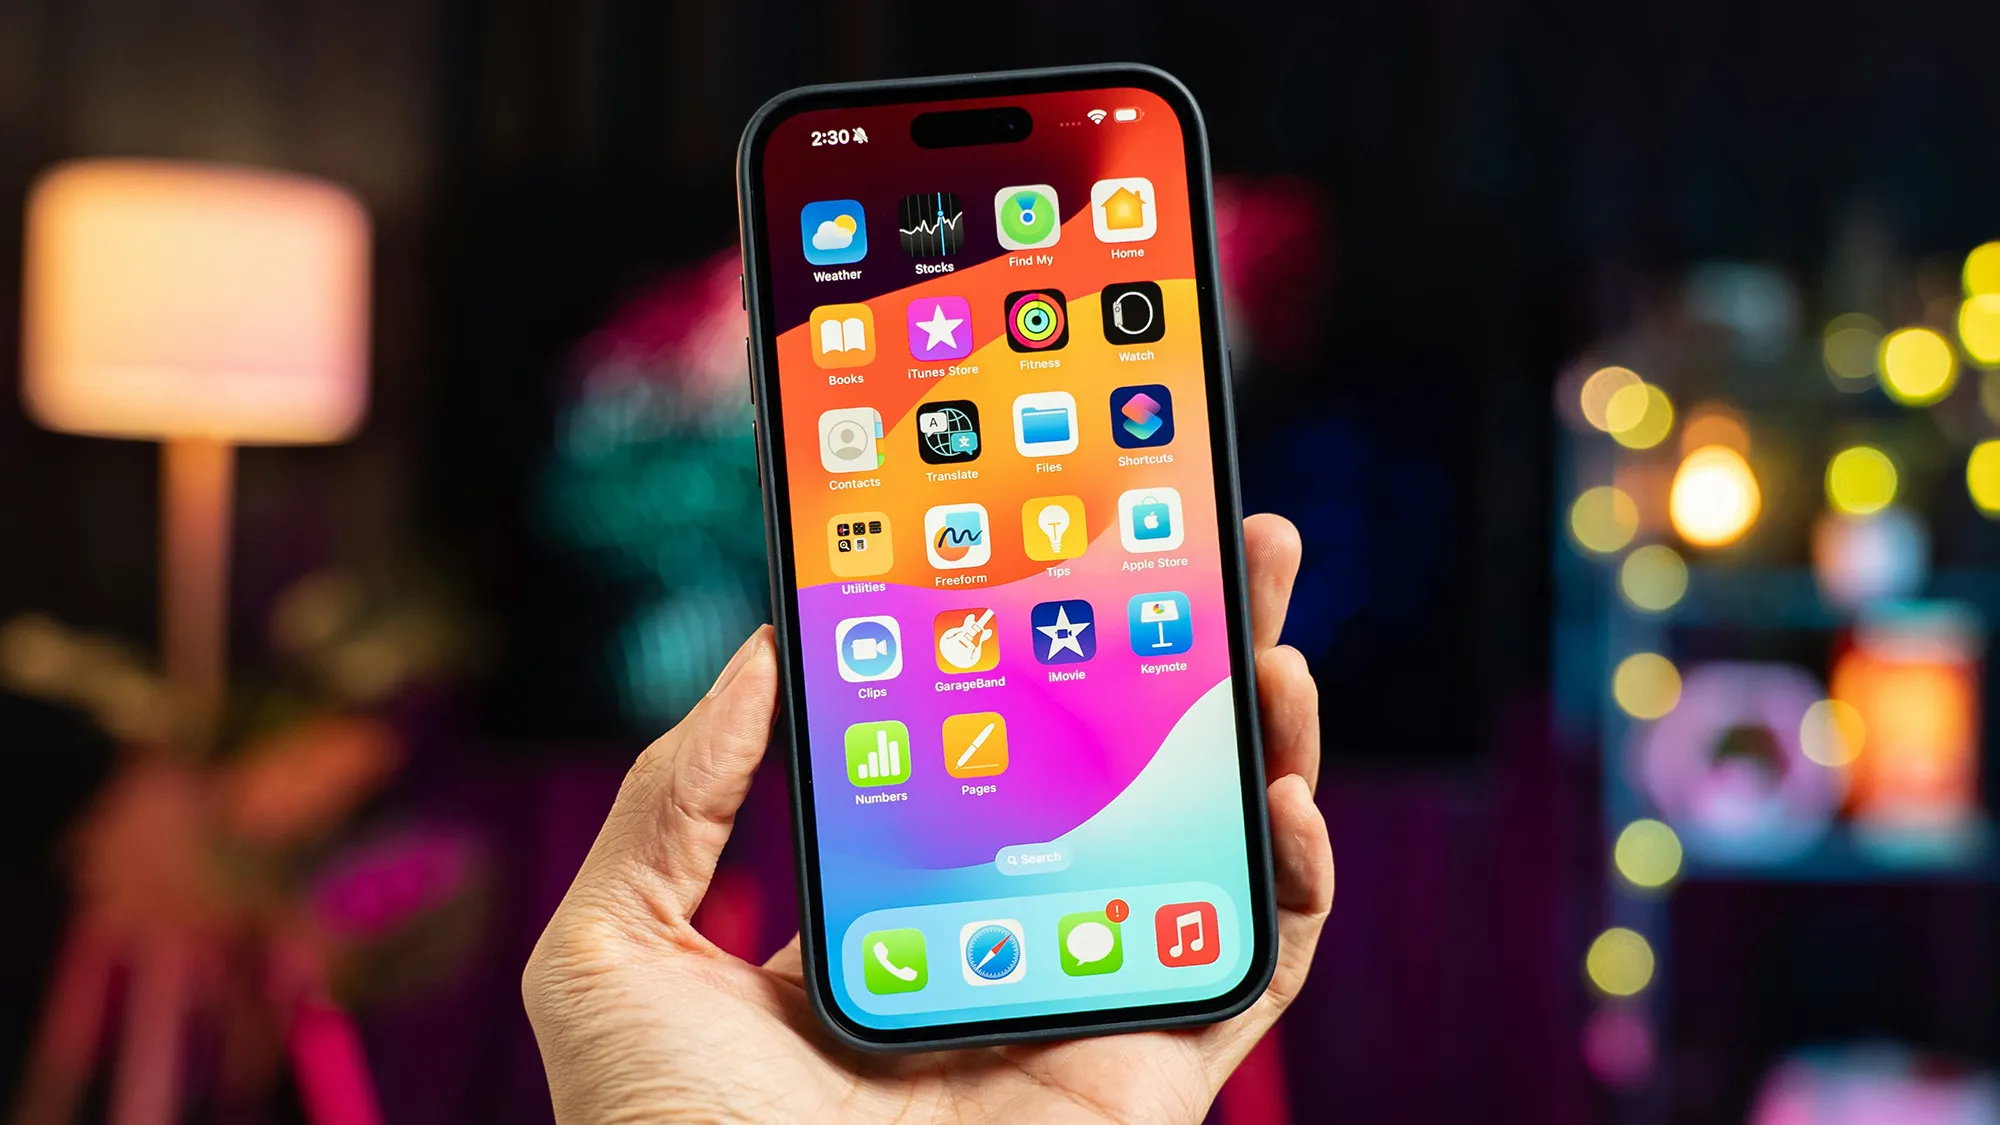
How To Cancel Apps On Iphone? – Managing app subscriptions is an essential skill for any iPhone user. Subscriptions can quickly accumulate, and without proper oversight, you may find yourself paying for services you no longer use. Fortunately, Apple provides a straightforward process for canceling subscriptions through the iPhone’s Settings app or the App Store. In this guide, we’ll take an in-depth look at the step-by-step process to cancel subscriptions, as well as some important considerations to keep in mind. By the end, you’ll have all the tools you need to manage your subscriptions efficiently.

How To Cancel Apps On Iphone?
When managing apps on your iPhone, you may occasionally find the need to cancel subscriptions to avoid unwanted charges. Whether it’s a streaming service, a fitness app, or a premium feature you no longer use, Apple provides a straightforward way to manage and cancel app subscriptions directly from your device. In this guide, we’ll walk you through the steps to ensure you can easily cancel apps on your iPhone and take control of your subscriptions.
The Settings app is a centralized hub for managing all your subscriptions linked to your Apple ID. Here’s how to cancel a subscription using this method:
Step 1: Open the Settings App
Locate and open the Settings app on your iPhone. This app is represented by a gear icon and is typically found on the home screen.
Step 2: Access Your Apple ID
Tap your name at the top of the Settings menu. This will take you to your Apple ID settings, where you can manage various aspects of your account.
Step 3: Navigate to Subscriptions
In the Apple ID menu, look for and tap the “Subscriptions” option. This will display a list of all active and expired subscriptions associated with your Apple ID.
Step 4: Select the Subscription to Cancel
Browse through the list of subscriptions and tap on the one you wish to cancel. You may need to scroll down to find the desired subscription.
Step 5: Tap “Cancel Subscription”
On the subscription details page, you’ll see the “Cancel Subscription” button. Tap it to initiate the cancellation process. If you can’t find this option, double-check that you’re in the correct subscription menu.
Step 6: Confirm the Cancellation
A confirmation prompt will appear, asking if you’re sure you want to cancel the subscription. Confirm your choice to finalize the cancellation.
Key Considerations When Canceling Subscriptions
While canceling subscriptions is straightforward, there are a few important factors to consider to avoid surprises:
- Cancellation Timing: The timing of when a subscription ends depends on the app’s specific policies. For most subscriptions, you can continue to use the service until the current billing cycle ends, even after cancellation. However, some services may terminate access immediately upon cancellation.
- Free Trial Periods: If you’re within a free trial period, canceling your subscription will prevent you from being charged when the trial ends. Be sure to cancel at least 24 hours before the trial period expires to avoid unwanted charges.
- Refund Policies: Apple typically does not provide refunds for subscriptions that have already been charged. However, in certain cases, you may be able to request a refund through Apple Support if there are extenuating circumstances, such as accidental charges.
- Contacting the App Developer: If you encounter issues canceling a subscription, you can contact the app developer directly for assistance. The developer’s contact information is usually available in the App Store under the app’s details.
Tips for Managing Subscriptions Effectively
Managing subscriptions doesn’t stop at cancellations. Here are some tips to keep your subscriptions under control:
- Regularly Review Subscriptions Set a reminder to review your subscriptions monthly or quarterly. This helps you identify any services you no longer use.
- Use Apple’s Built-in Features Apple provides tools to manage subscriptions efficiently. Utilize the “Subscriptions” section in the Settings app or App Store to monitor your active and expired subscriptions.
- Set Up Payment Reminders Use reminders or budgeting apps to track subscription payment dates. This can help you stay on top of your financial commitments.
- Opt for Annual Plans When Feasible If you’re committed to a service, opting for an annual subscription can save money in the long run compared to monthly plans.
- Beware of Automatic Renewals Many subscriptions renew automatically. Be vigilant about canceling subscriptions before the renewal date if you no longer wish to continue.
Canceling app subscriptions on your iPhone is a simple but essential task to maintain control over your finances. By using the methods outlined in this guide—through the Settings app or the App Store—you can easily manage your subscriptions and avoid unnecessary charges. Remember to consider the timing of cancellations, be aware of free trial policies, and regularly review your subscriptions to ensure you’re only paying for services you truly value. With these tips in mind, you’ll be well-equipped to make the most of your iPhone and its subscription management features.