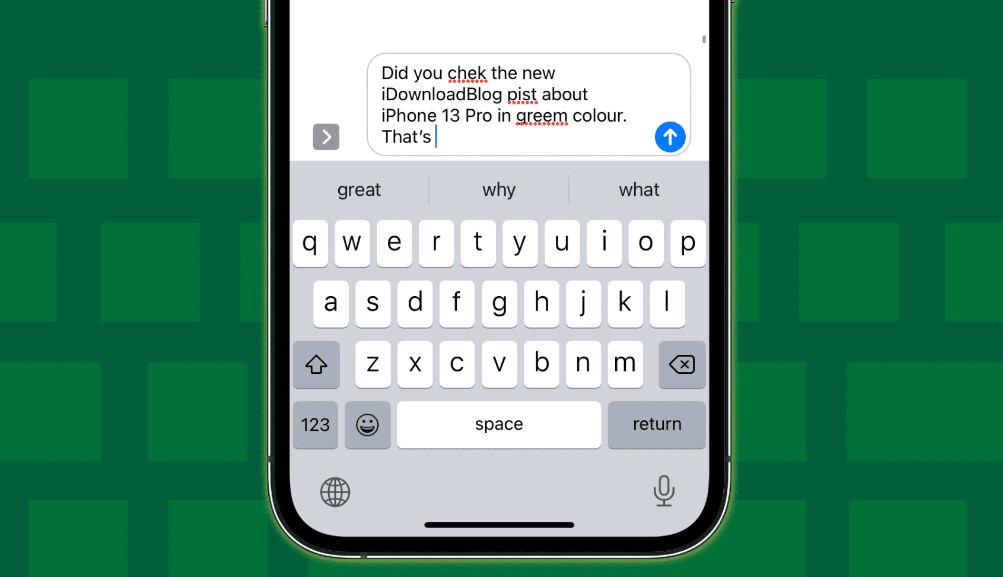
How to Cancel Autocorrect On iPhone? Our smartphones have become indispensable tools in our daily lives, helping us communicate, navigate, and organize efficiently. Among the many features that iPhones offer, Autocorrect is one that most users have a love-hate relationship with. On the one hand, it can save you from embarrassing typos, ensuring your messages and documents look polished. On the other hand, it can occasionally be overzealous, changing words into something you didn’t intend, leading to potentially awkward or confusing situations.

If you’ve ever experienced the frustration of Autocorrect altering your carefully chosen words, you’re not alone. Fortunately, Apple has made it easy to take control of this feature. Whether you want to disable it entirely or adjust your settings for a more tailored experience, this guide will walk you through the process step by step. Before diving into the specifics, let’s explore why mastering such settings can enhance your user experience.
The Importance of Personalizing Your iPhone
Your iPhone is more than just a gadget; it’s an extension of your personality and preferences. By customizing features like Autocorrect, you can:
- Improve Communication: Ensuring your messages are free from unintended changes can enhance clarity and reduce misunderstandings.
- Save Time: A properly configured keyboard means less time correcting errors and more time focusing on what matters.
- Reduce Frustration: Taking control of features that don’t align with your needs can make your device feel like a true personal assistant rather than a frustrating obstacle.
Now, let’s get into the nitty-gritty of how you can turn off Autocorrect on your iPhone.
How to Turn Off Autocorrect on Your iPhone?
Follow these straightforward steps to disable Autocorrect:
- Open the Settings App: Locate the gray gear icon on your home screen. This is your gateway to customizing all aspects of your iPhone.
- Tap General: Once inside Settings, scroll down or look for the “General” option, usually near the top. Tap it to access broader system settings.
- Select Keyboard: Within the General settings, find and tap on “Keyboard.” This section contains all the settings related to your typing experience.
- Toggle Off Auto-Correction: Under the Keyboard settings, you’ll see a switch labeled “Auto-Correction.” Slide this switch to the left until it turns gray. This action disables Autocorrect.
Congratulations! You’ve successfully turned off Autocorrect on your iPhone. With this feature disabled, your device will no longer automatically change your words, giving you full control over your typing.
Enhancing Your Keyboard Experience
While disabling Autocorrect can be liberating, there are additional settings and tools you can explore to make your typing experience even better. Here are a few suggestions:
- Enable Predictive Text: This feature suggests words and phrases as you type, allowing you to complete your thoughts quickly without relying on automatic corrections.
- Create Text Replacements: Customize shortcuts for frequently used phrases, such as “brb” for “be right back.” This can save time and effort.
- Experiment with Third-Party Keyboards: The App Store offers a range of alternative keyboards with unique features, such as swipe typing, emoji shortcuts, or specialized layouts for different languages.
- Adjust Key Repeat and Delay: If you often hold down keys for alternate characters, you can fine-tune how quickly these options appear.
Taking charge of your iPhone settings isn’t just about disabling features like Autocorrect; it’s about empowering yourself to create a device experience that’s uniquely yours. By understanding and personalizing these options, you can communicate more effectively, reduce frustration, and truly enjoy the convenience that modern technology has to offer.
Your iPhone is a powerful tool—make it work for you, not against you. And remember, technology is here to serve you, not the other way around. So, explore your settings, experiment with features, and don’t hesitate to customize your device to fit your lifestyle.