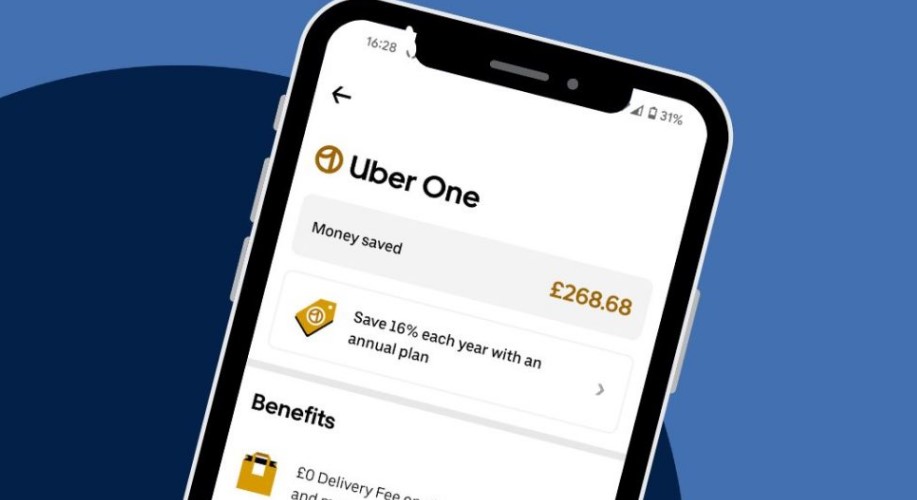
How to Cancel Uber One? – Uber One is a popular subscription service that offers members various benefits, including free delivery, discounts, and priority support on Uber and Uber Eats. However, there may come a time when you decide to cancel your membership for personal or financial reasons. Whether you’re taking a break from the service or switching to other alternatives, this guide will walk you through the entire process of canceling your Uber One membership. We’ll cover both in-app and online methods, provide essential tips, and answer frequently asked questions to ensure a smooth experience.

Canceling Your Uber One Membership via the App
One of the easiest ways to cancel your Uber One membership is through the Uber app. Here’s how you can do it step-by-step:
- Open the Uber App: Launch the Uber app on your smartphone or tablet. Ensure you’re logged in to the account associated with your Uber One membership.
- Tap the “Account” Icon: In the bottom-right corner of the screen, tap on the “Account” icon to access your account settings.
- Select “Uber One”: Look for the “Uber One” option within the account menu and tap it. This will open your subscription details.
- Manage Membership: Scroll down and tap “Manage Membership” to proceed to the next step.
- End Membership: Select “End Membership” and follow the prompts. You’ll need to confirm your cancellation multiple times:
- First, select “Continue.”
- Then, select “End Membership.“
- Confirmation: Once you’ve completed the process, you’ll receive a confirmation message indicating that your membership has been successfully canceled.
Canceling Your Uber One Membership Online
If you prefer using a web browser, you can cancel your Uber One membership online. Follow these steps:
- Visit the Uber Help Center: Go to Uber’s Help Center using your preferred browser.
- Sign In to Your Account: Enter your login credentials to access the account linked to your Uber One membership.
- Navigate to Uber One: Once logged in, click on the “Uber One” section to view your subscription details.
- Manage Membership: Click on “Manage Membership” to initiate the cancellation process.
- End Membership: Select “End Membership” and follow the prompts to confirm your cancellation.
- Confirmation: You’ll receive an on-screen notification confirming that your membership has been successfully canceled.
Important Notes to Keep in Mind
- Cancel at Least 48 Hours Before Billing Day: To avoid being charged for the next billing cycle, cancel your membership at least 48 hours before your next renewal date. This ensures the system processes your cancellation on time.
- Less Than 48 Hours to Renewal: If you’re within 48 hours of your next billing date, it’s advisable to contact Uber support for assistance. They may be able to help prevent the next charge from going through.
- No Refunds for Partial Use: Uber’s policy typically does not provide refunds for partial use of the subscription. Make sure to cancel only after you’ve maximized your membership benefits for the current billing period.
Frequently Asked Questions (FAQs)
What happens to my benefits after I cancel my Uber One membership?
Once you cancel, your benefits will remain active until the end of your current billing period. After that, your membership perks will no longer be accessible.
Can I reactivate my Uber One membership after canceling?
Yes, you can rejoin Uber One at any time. Simply follow the subscription process in the app or online to reactivate your membership.
Will I receive a confirmation email after canceling?
Yes, Uber will typically send you an email confirming that your membership has been canceled. Keep this email for your records.
Can I cancel my membership through customer support?
While the app and online methods are the most convenient, you can also reach out to Uber support if you face any issues during the cancellation process.
Is there a penalty for canceling Uber One early?
No, Uber One does not require a long-term commitment, so you can cancel at any time without penalties. However, partial refunds are not provided.
Tips for a Smooth Cancellation Experience
- Double-Check Your Billing Cycle: Make a note of your next renewal date before initiating the cancellation process.
- Save Confirmation Details: Keep screenshots or email confirmations as proof of cancellation in case of billing disputes.
- Reach Out for Assistance: If you encounter any issues, don’t hesitate to contact Uber support for help.
- Explore Alternative Plans: If you’re canceling due to cost concerns, consider checking for promotional offers or discounts that might make the membership more worthwhile.
Canceling your Uber One membership is a straightforward process that can be done either through the app or online. By following the steps outlined in this guide, you can ensure a hassle-free experience. Whether you’re looking to pause your subscription or move on to other services, this guide has you covered. Remember to cancel at least 48 hours before your billing day to avoid additional charges, and always keep your confirmation details for reference.