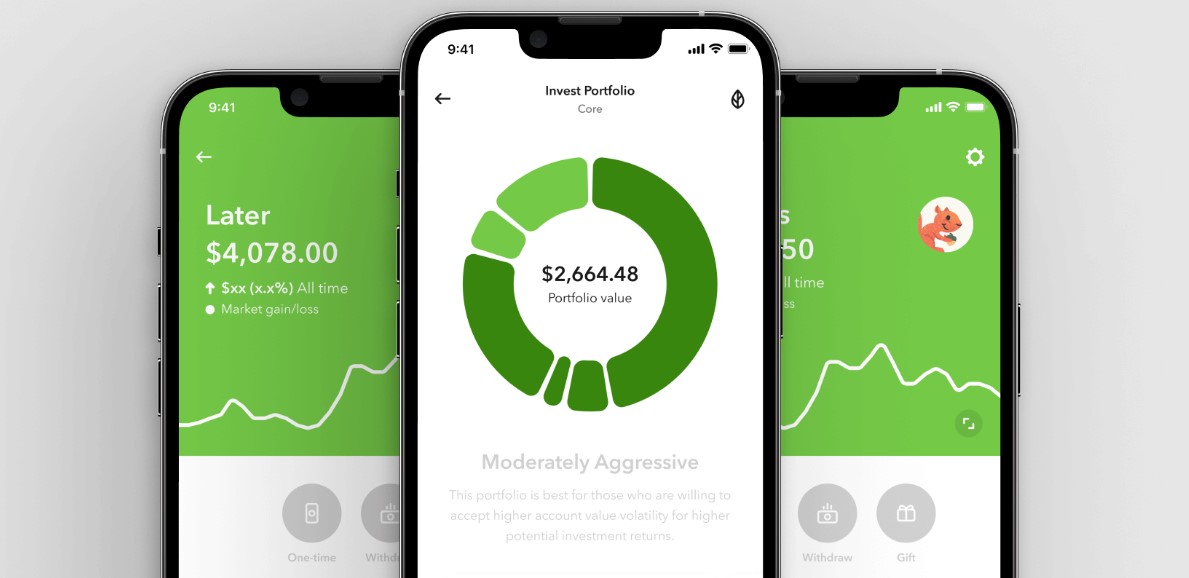
How to Cancel Acorns Account? Acorns has become a popular investment app for individuals seeking to grow their wealth effortlessly through micro-investing and automated savings. Whether you’re rounding up spare change for investments or leveraging Acorns’ other financial tools, the platform provides an easy entry into the world of personal finance. However, there may come a time when you decide that Acorns no longer aligns with your financial goals, or perhaps you’ve found another service that better suits your needs. Whatever the reason, knowing how to cancel your Acorns account is essential to ensure a smooth transition.

In this comprehensive guide, we will walk you through the process of canceling your Acorns account using both the mobile app and the website. Along the way, we’ll provide helpful tips, clarify important considerations, and ensure you feel confident in navigating the process.
Why You Might Consider Canceling Your Acorns Account?
Before diving into the steps for canceling your account, it’s worth reflecting on why you’re considering this decision. Some common reasons include:
- Financial Changes: You may be reallocating your funds toward other priorities or investments.
- Fee Concerns: While Acorns charges a flat monthly fee, this cost might outweigh the benefits for smaller accounts.
- Seeking Advanced Investment Tools: If your financial knowledge and needs have grown, you might prefer platforms with more advanced investment options.
- Simplification: Reducing the number of accounts and apps you manage can help streamline your financial life.
If you’re sure that canceling is the right move, read on for detailed instructions.
How to Cancel Your Acorns Account?
Canceling your Acorns account can be done either through the Acorns app or the Acorns website. Below are the step-by-step instructions for each method:
From the Acorns App
- Log In to Your Acorns App: Open the Acorns app on your mobile device and log in using your account credentials.
- Access Your Profile Settings: Tap the profile icon located in the top left corner of the app interface.
- Navigate to Settings: Within your profile menu, tap on “Settings.”
- Select “My Subscription”: In the Settings menu, locate and tap on “My Subscription.”
- Choose the Account(s) to Close: You’ll see a list of your accounts. Select the specific account or accounts you wish to close.
- Close Your Account: Tap the “Close Account” option and follow the in-app instructions provided.
From the Acorns Website
- Log In to Your Account: Visit acorns.com and log in using your email and password.
- Access Your Profile & Settings: Click on the profile icon located in the top right corner of the webpage.
- Navigate to “My Subscription”: From the Profile & Settings menu, click on “My Subscription.”
- Scroll to “Change Plan”: Scroll down until you see the “Change Plan” section, then click “Close Account.”
- Select the Account(s) to Close: Indicate which account or accounts you wish to close.
- Complete the Process: Follow the on-screen instructions to finalize the closure of your account.
Important Notes to Keep in Mind
Canceling your Acorns account is straightforward, but there are a few critical points to remember:
- Linked Checking Account:
- You must have a verified checking account linked to your Acorns account to transfer your remaining funds.
- Without a linked account, the transfer process cannot be completed.
- Liquidation of Investments:
- Acorns will sell any investments in your account as part of the closure process.
- The balance will then be transferred to your linked primary checking account.
- Full Account Closure:
- Canceling your subscription will result in the closure of all your Acorns accounts, including checking, investment, and retirement accounts.
- Be sure you’re ready to close all accounts before proceeding.
- Tax Implications:
- Selling investments may have tax consequences depending on the gains or losses incurred. Consult a tax advisor if needed.
- Pending Transfers:
- Ensure all pending transfers have cleared before initiating the closure process to avoid complications.
Tips for a Smooth Account Closure
To ensure the process is seamless, consider the following tips:
- Double-Check Your Linked Bank Account: Verify that your linked checking account is accurate and active to avoid delays in receiving your funds.
- Download Financial Statements: Before closing your account, download any necessary financial records or statements for future reference.
- Contact Customer Support if Needed: If you encounter any issues or have questions, Acorns’ customer support team is available to assist you.
- Explore Alternative Options: If you’re canceling due to fees or account features, consider reaching out to Acorns to discuss potential solutions. They may have options that better suit your needs.
After Canceling: What’s Next?
Once your Acorns account is closed, it’s time to decide what’s next for your financial journey. Here are a few ideas:
- Explore Other Investment Platforms: Research platforms that align with your current financial goals and offer the tools or features you need.
- Reassess Your Financial Plan: Use this opportunity to revisit your financial objectives and ensure your investment strategy aligns with them.
- Build an Emergency Fund: If you’re pausing investments, consider focusing on building or replenishing your emergency fund for added security.
- Seek Financial Guidance: A financial advisor can help you create a personalized plan that suits your needs and goals.
Canceling your Acorns account doesn’t have to be a daunting task. By following the steps outlined in this guide, you can ensure a smooth and hassle-free process. Remember to review all relevant details, such as linked accounts and pending transfers, before initiating the closure. Whether you’re moving on to new financial tools or simply simplifying your finances, taking control of your accounts is an essential step toward financial empowerment.
If you ever choose to return to Acorns, their user-friendly platform will always be there to welcome you back. For now, take pride in making informed decisions that support your financial well-being. Here’s to your continued success on your financial journey!